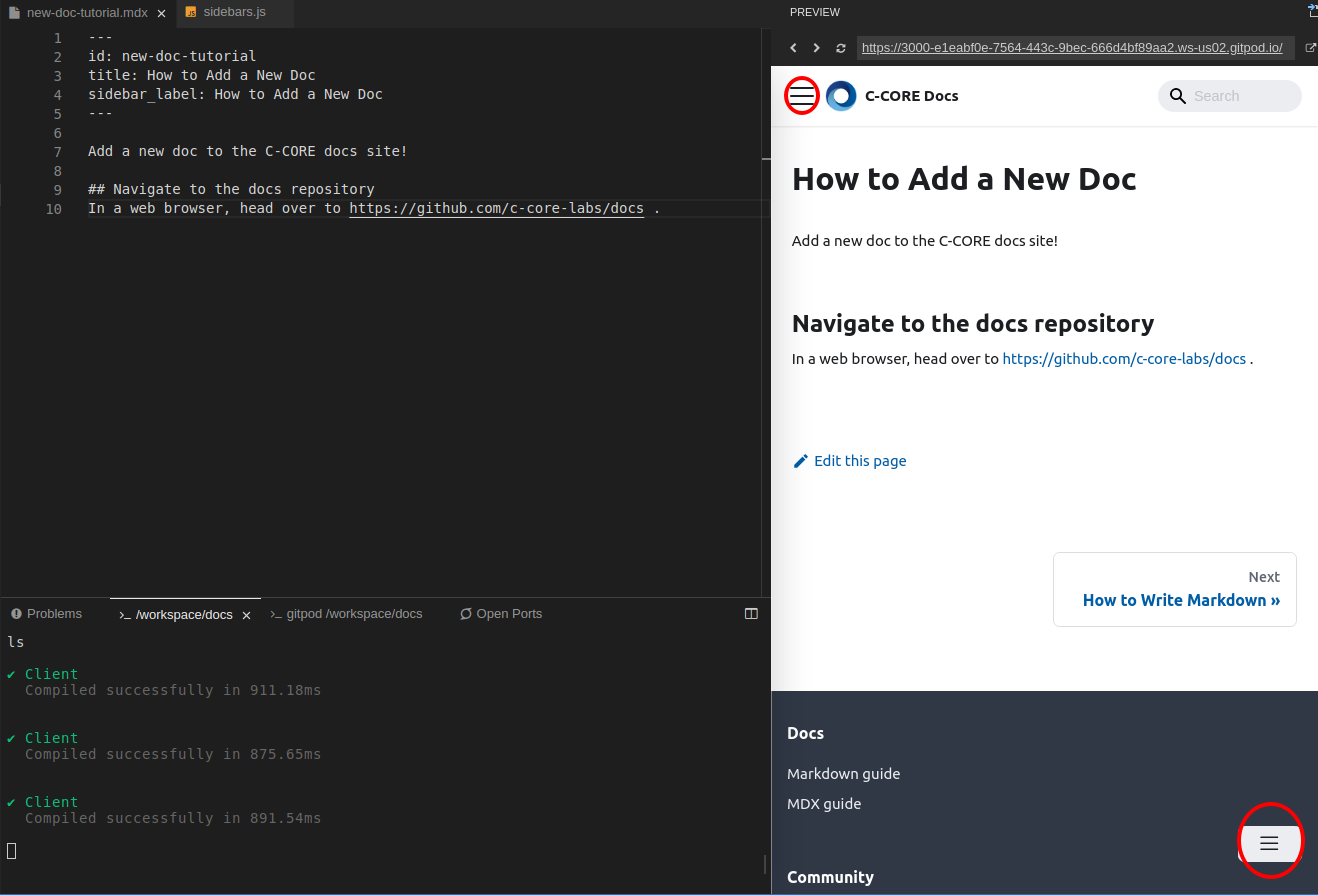
How to Add a New Doc
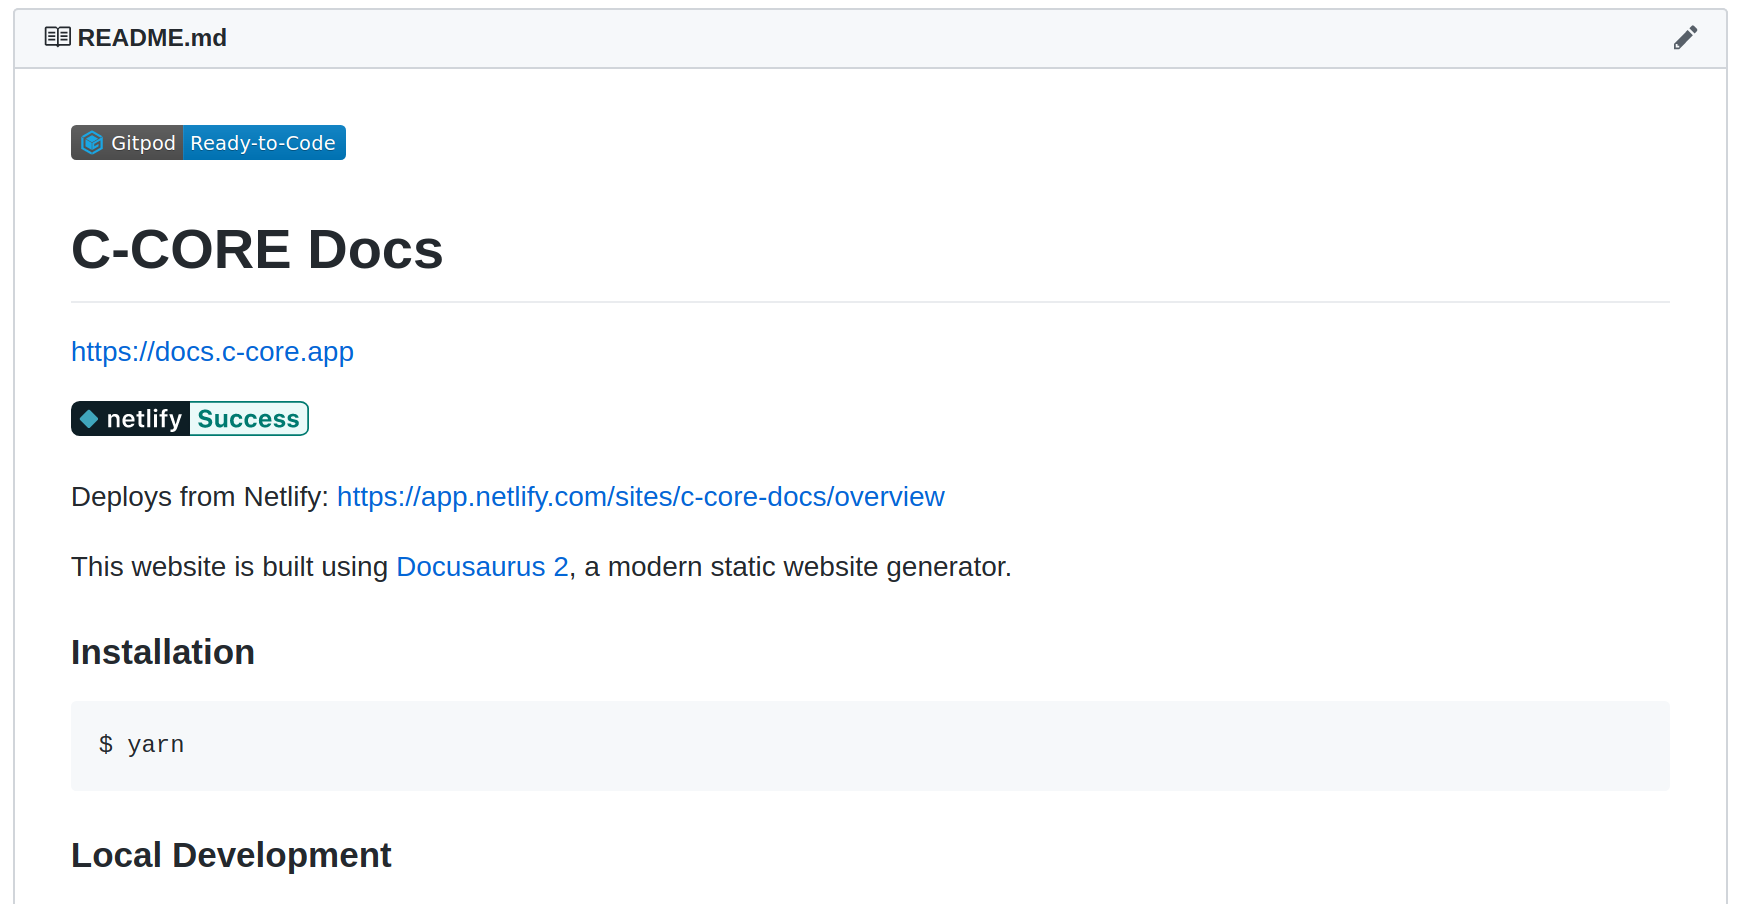
Add a new doc to the C-CORE docs site!
If you already know how to git clone git@github.com:c-core-labs/docs.git, edit markdown, push, and create a PR, have at it! If that last bit wasn't clear, read on below!
Navigate to the docs repository#
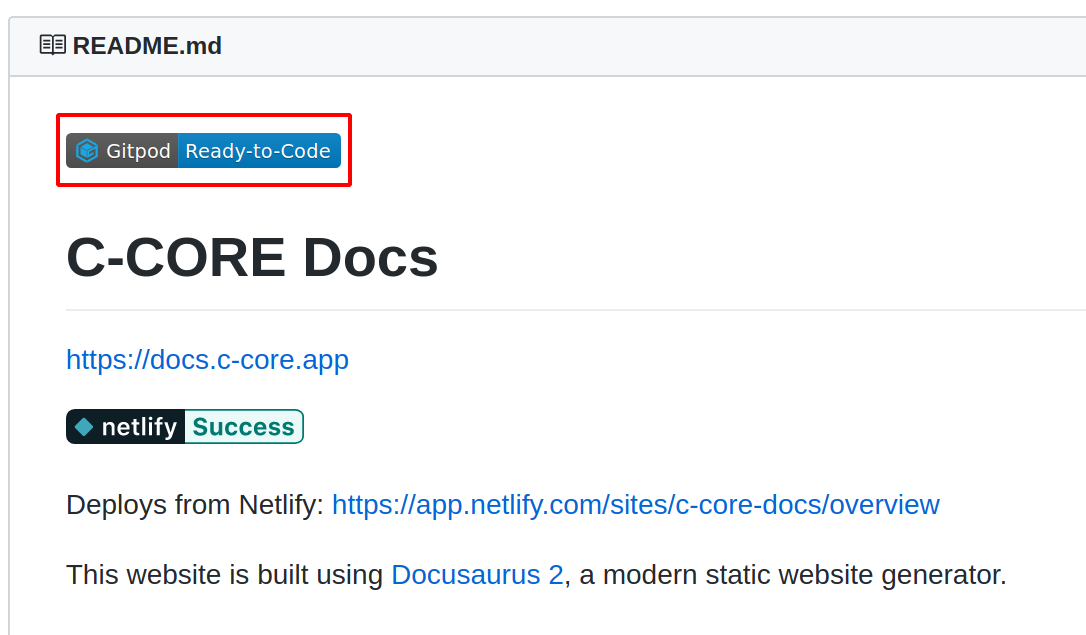
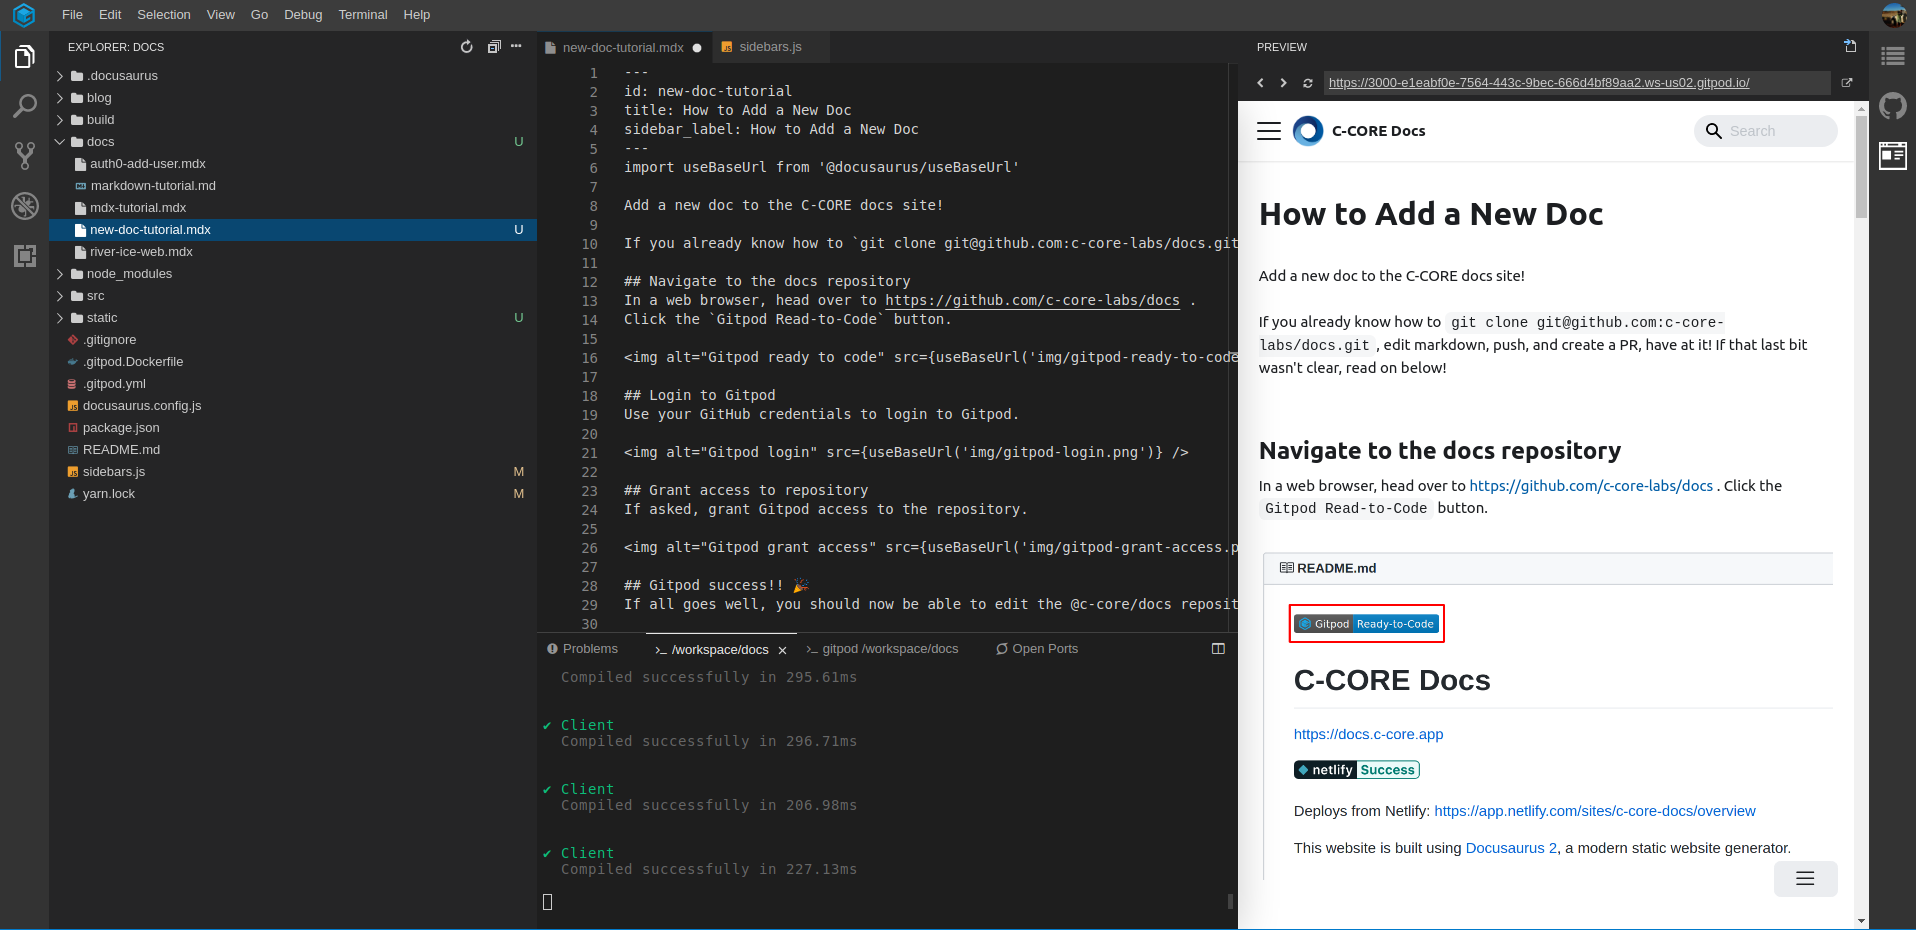
In a web browser, head over to https://github.com/c-core-labs/docs .
Click the Gitpod Read-to-Code button.
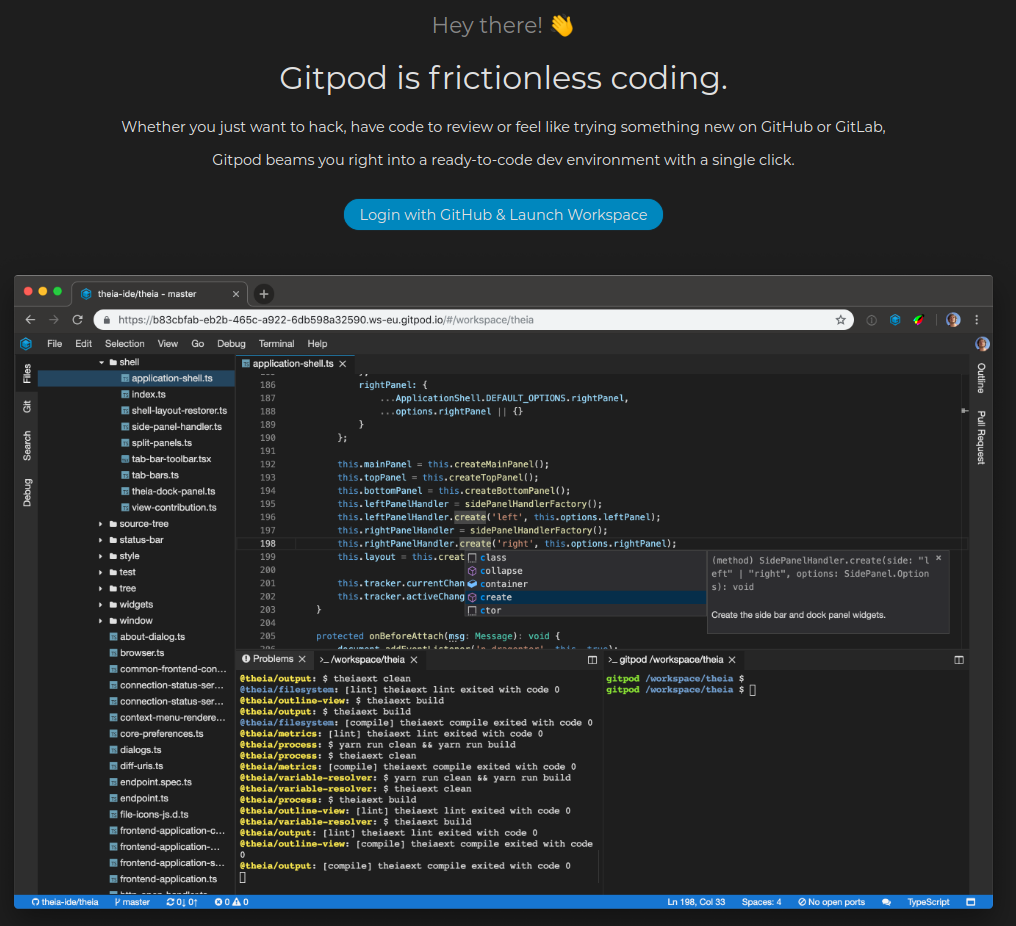
Login to Gitpod#
Use your GitHub credentials to login to Gitpod.
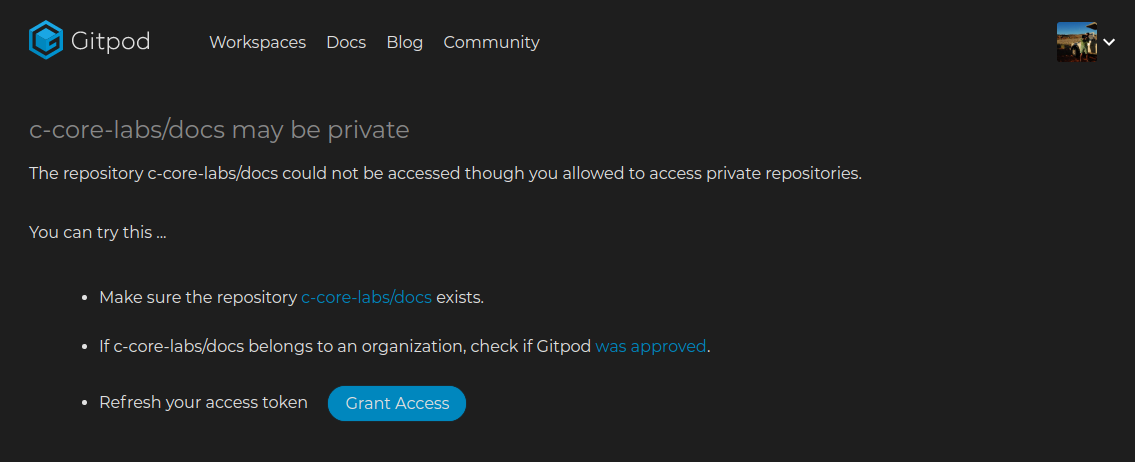
Grant access to repository#
If asked, grant Gitpod access to the repository.
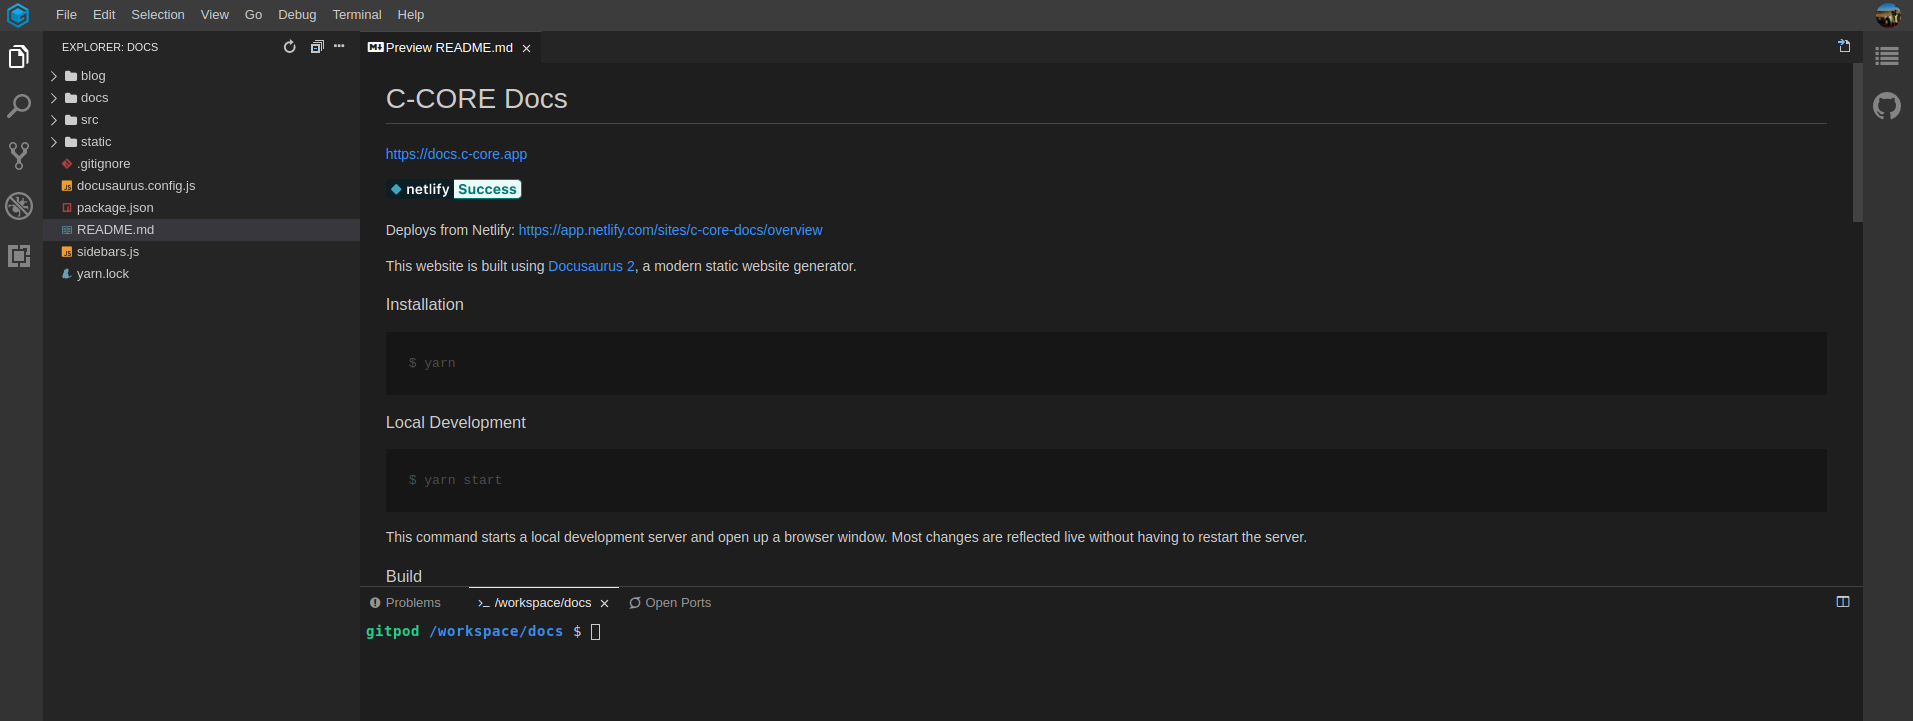
Gitpod success!! 🎉#
If all goes well, you should now be able to edit the @c-core/docs repository in your cloud native IDE.
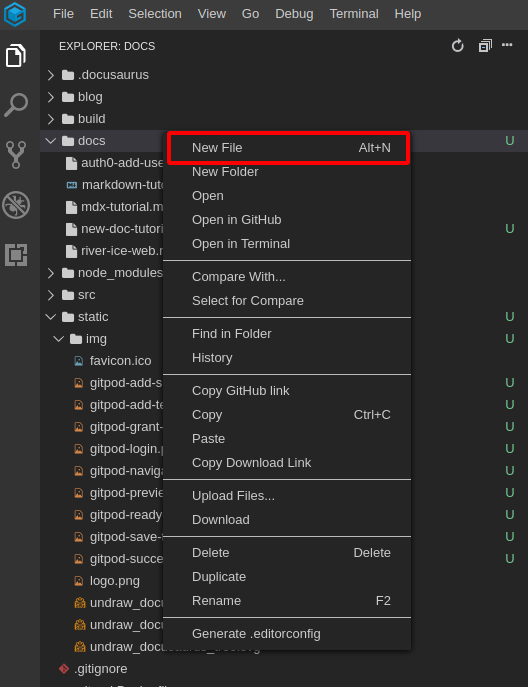
Add a new doc file#
Right click on the docs folder in the Explorer panel on the left. In the popup menu, click New File. Be sure to follow our naming convention best practices:
- kebab-case (all lower case with words separated by hyphens)
.mdxor.mdfile extension (we usually default to.mdx)- should reflect the title of the doc
For example, this file's name is new-doc-tutorial.mdx.
If you do not see the Explorer panel, hit ctrl+shift+e.
Add metadata to top of new file#
Each doc file must have a unique id. A title and sidebar_label are highly recommended. Note the three hyphens preceding and following the metadata.
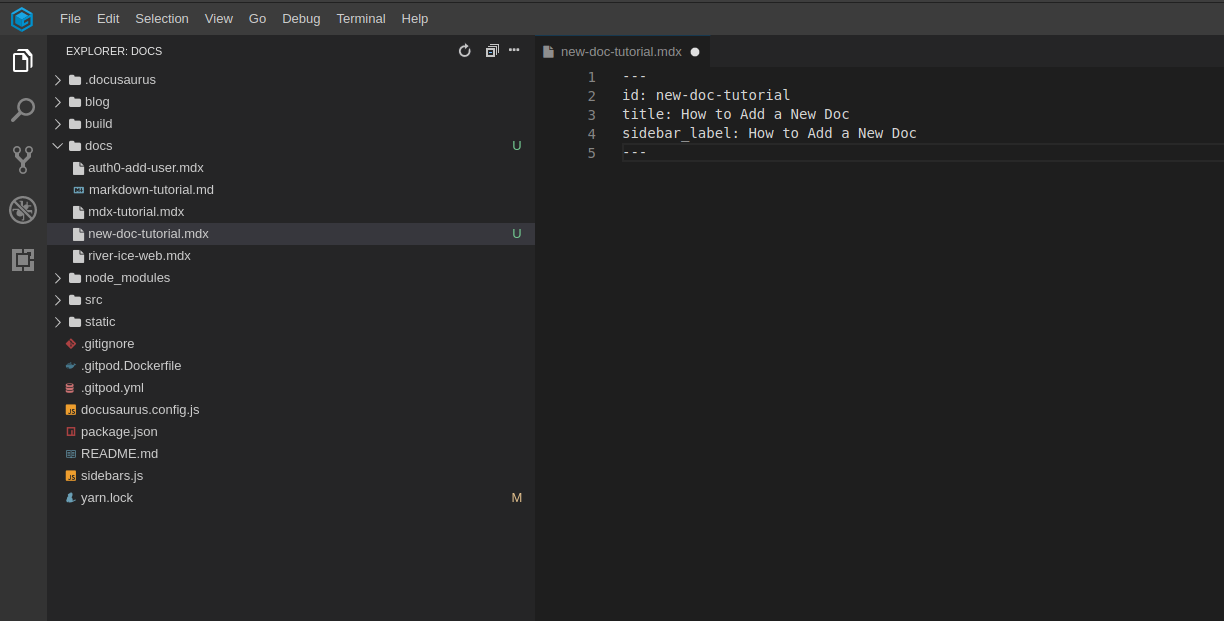
Add some text#
Add some text to the new doc file. Be sure to hit ctrl-s on your keyboard to save.
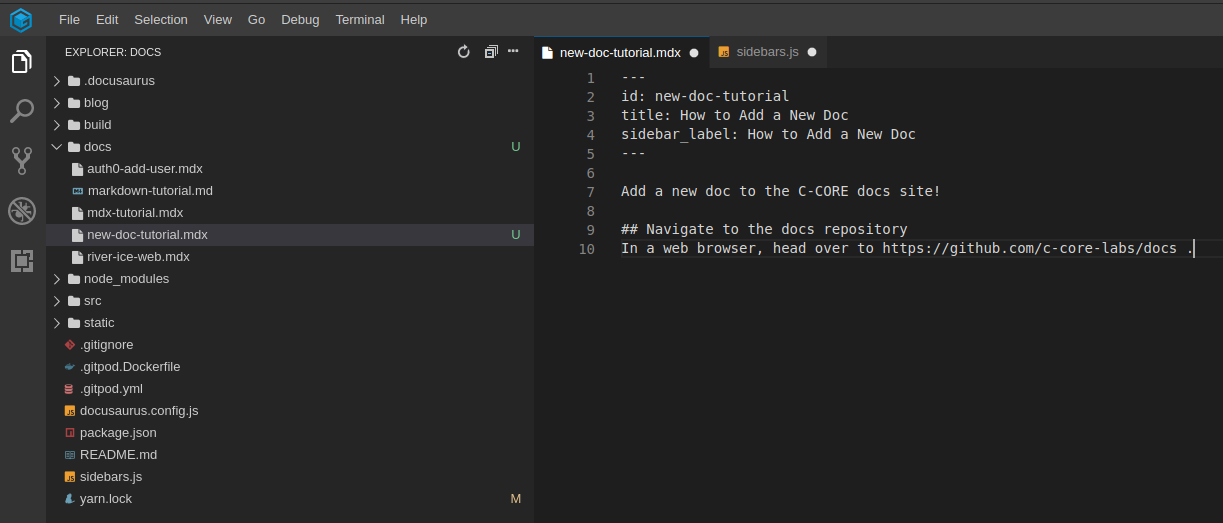
Add Sidebar entry#
Docusaurus needs to know which docs to include the sidebar navigation. Open the sidebar.js file and add the new doc's id. For example, below we added new-doc-tutorial under the Docusaurus sub-header.

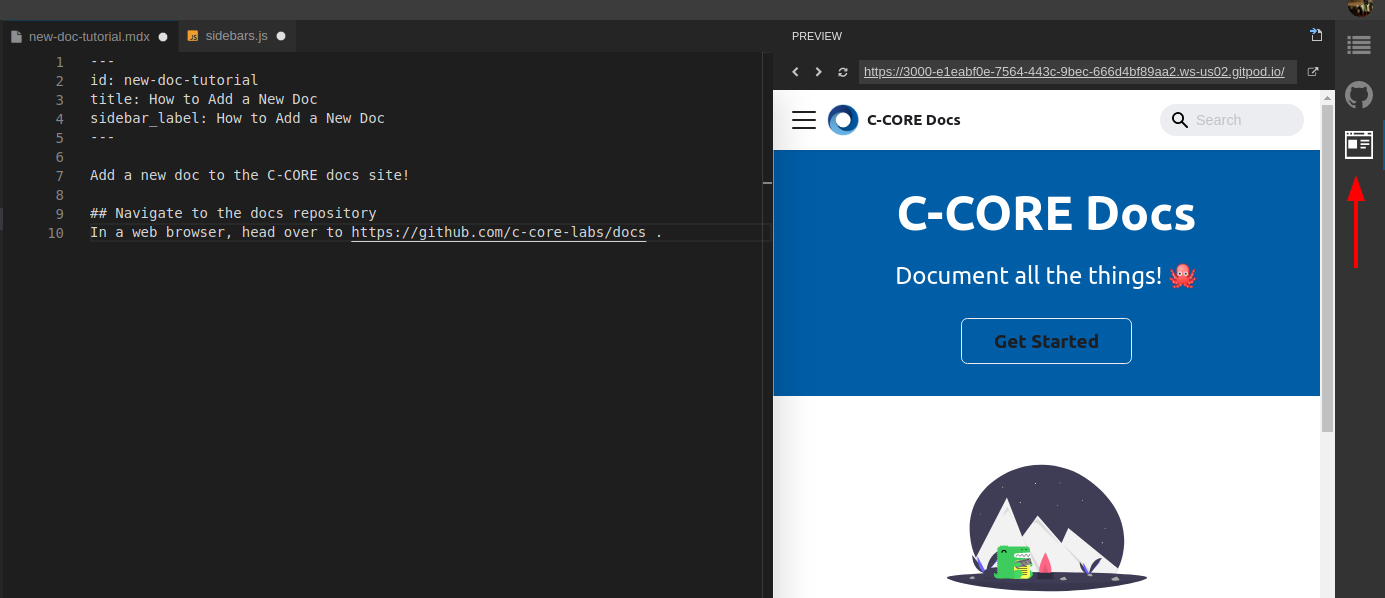
View preview#
To preview your edits in a live browser, click the Preview button on the right hand side.
Navigate to new doc#
Select Docs from the menu button in the top left of the app, and select your new doc page from the menu button in the bottom right of the app. 🏁
Add more to your new doc 🎨#
Go back to your new doc and add more content. Hit ctrl-s to see your changes update in the live preview.
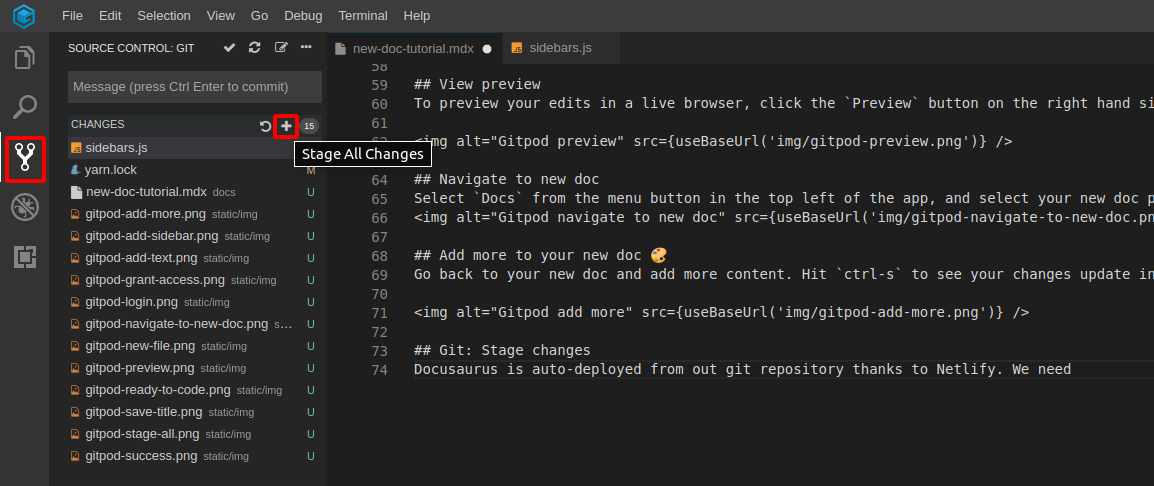
Git: Stage Changes#
Docusaurus is auto-deployed from our git repository thanks to Netlify. We need to ask git to commit our changes to git source control.
- First, click the git Source Control icon on the left.
- Second, click the
Stage All Changesicon to the right of theCHANGESheader.
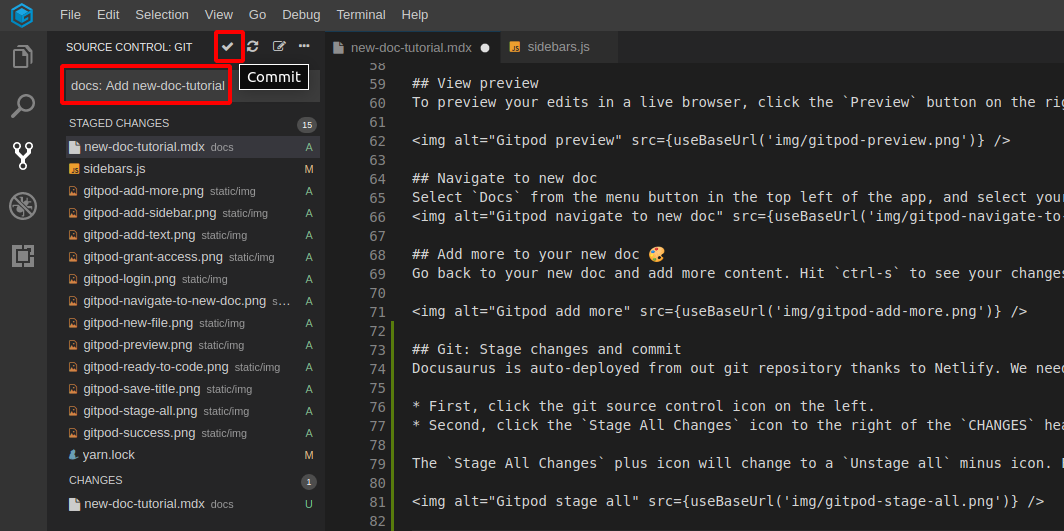
The Stage All Changes plus icon will change to a Unstage all minus icon. Feel free to click it again a few times to get used to staging changes and unstaging changes.
If you do not see the git Source Control icon, hit ctrl+shift+g.
Git Commit#
Once all changes are staged, an empty git commit message box and commit checkmark appear atop the git panel. Type a commit message and click the commit checkbox icon. This commits all changes to the git source version control.
For tips on writing helpful commmit messages, see Conventional Commits.
Git Create Pull Request#
The changes just committed to git source version control were commited to a local branch (copy) of the git repository. We need to merge the local branch to the origin branch (the branch located at https://github.com/c-core-labs/docs ). The origin branch is the one Netlify watches to build the production @c-core-labs/docs site. We accomplish this by openning a Pull Request.
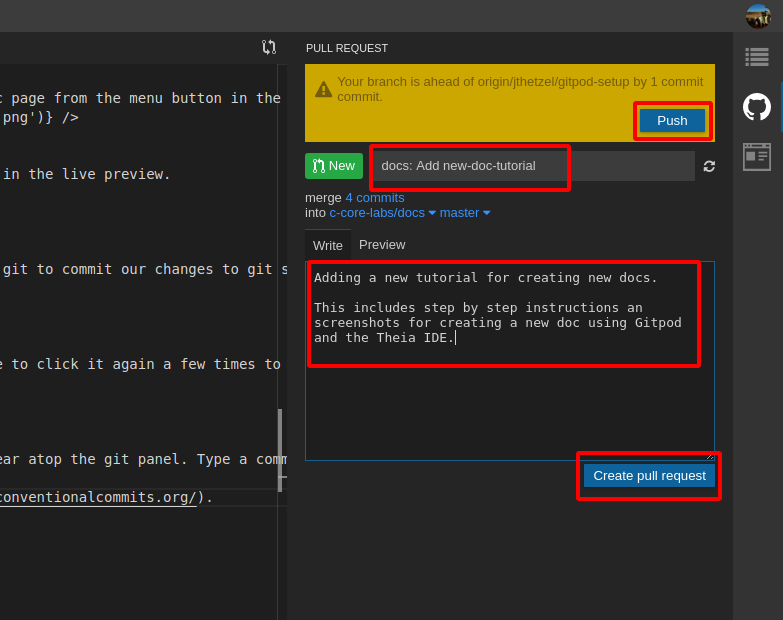
- Click the Pull Request icon on the right side.
- Click
Pushto push the local git branch to a remote branch on your GitHub account. - Enter a Pull Request title next to the
Newbutton. - Enter a Pull Request description. This description should summarize to other developers now and in the future why you decided to open this Pull Request.
- Click
Create pull request. This opens a Pull Request to mergeyour-user-name/docswithc-core-labs/docs.
Git Review Pull Request#
Congratulations! You just opened a Pull Request. To view it, navigate to https://github.com/c-core-labs/docs/pulls . You should see your open Pull Request.
Go ahead and click on your Pull Request.

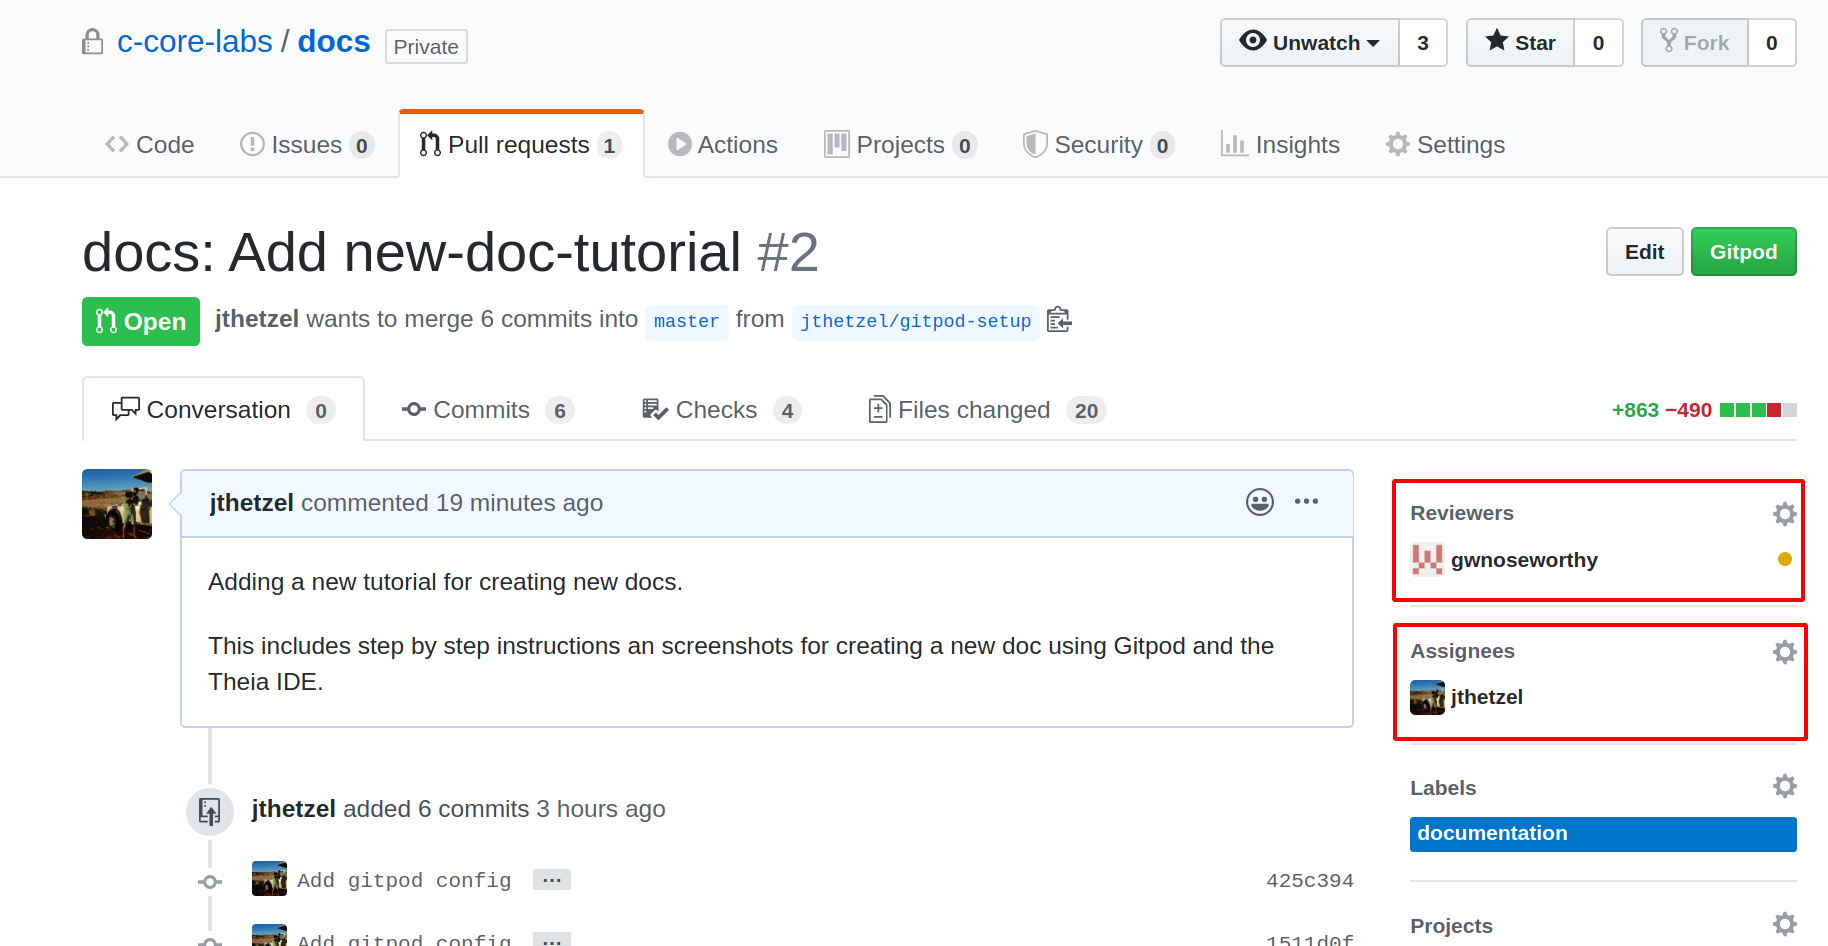
Git Add Reviewers and Assignee#
For a final step it is good practice to ask for a review and asign an assignee. In the example below, I've requested Gerard to review the Pull Request, and added myself as the assignee, as I will ultimely be responsible for merging the Pull Request.
Here is some guidance on the difference between Reviewers and Assignees: https://stackoverflow.com/a/41174022/583830
If you're not sure who to pick to review or assign, just leave it empty, and post a message to Slack.
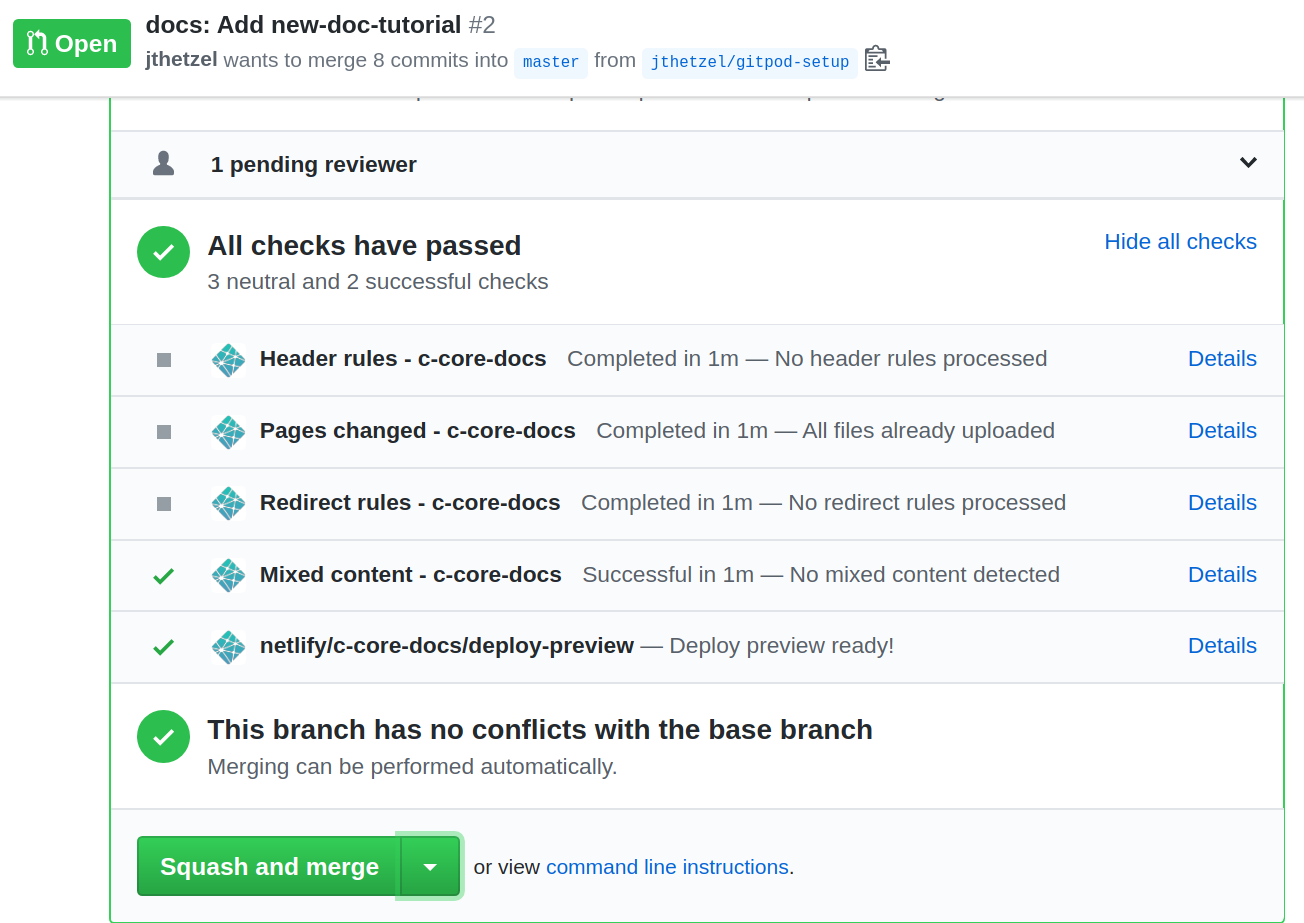
Git Squash and Merge#
When you are satisfied with the Pull Request review, click the big green `Squash and merge button at the bottom of the Pull Request. This merges the Pull Request into c-core-labs/docs and triggers continuous deployment with Netlify.
Wait for Build to Succeed#
After merging, go back to https://github.com/c-core-labs/docs and observe the Netlify badge indicates building is under way.
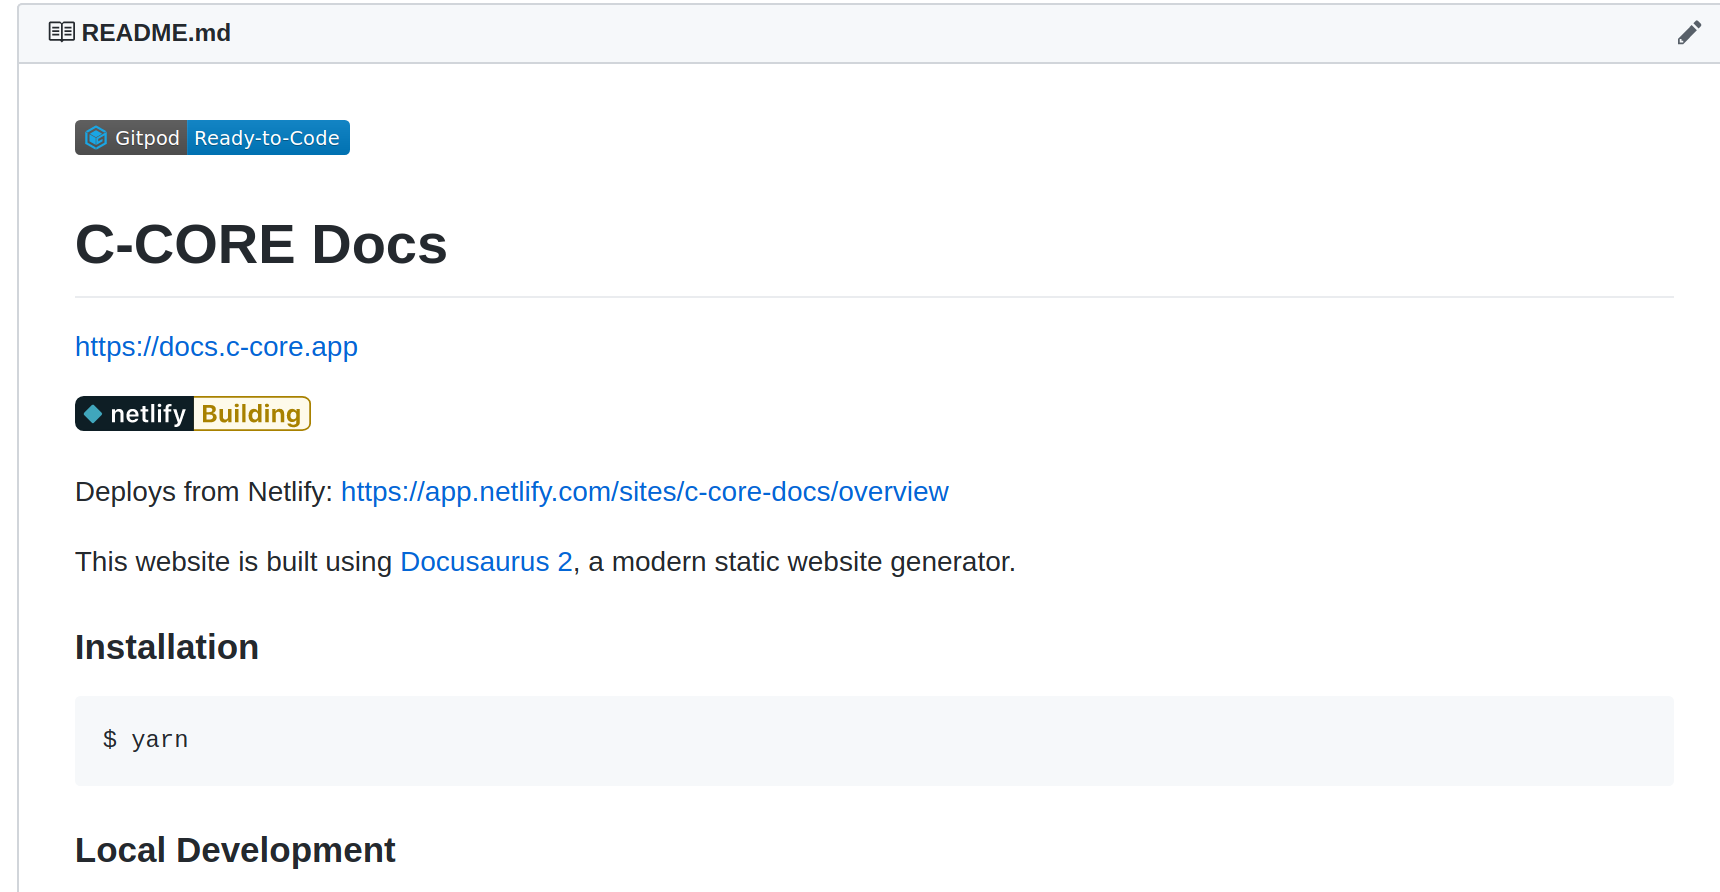
After a few minutes, if all goes well, the badge will change to a success badge.
All Done! 🏁#
Visit https://docs.c-core.app/ and bask in the glory of your new doc!